
An art may also be done by children for fun, and at the same time, this can be a way for them to discover and learn activities that would take them to becoming creative individuals for the next generations to come.
Arts and Crafts are one of the most creative artwork in history which has been a great influence in different parts of the globe. Professional artists can make an extravagant artwork with just by using their hands; they create beauty in the world.
One of the easiest arts and crafts work is Modeling Clay. Kids started to love making clay. Aside from having fun, they are learning more.
Natural Clay
Clay is a 100% natural material, ideal for kid-sized hands. Because of the soft texture, it is easy to work with your hands or with the use of tools from the kitchen or a play dough-style set. Your clay needs to be kept in a damp cloth whilst you’re working, and then all together keep it in a plastic bag ready for the next time.
Molding clay is just like baking cupcakes. Only really necessary for clay models with very delicate parts that can crack if the clay’s not baked. Baking clay can’t be done in an oven because of the very high temperatures needed. You may seek advice from a local arts and crafts association to find out where you can bake your models.
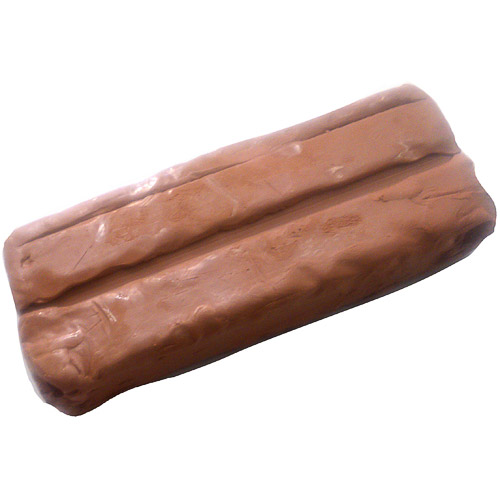
Fimo Clay

The pleasure of deriving from Fimo oven hardening clay and others like it, is the mixture of colors to try out: to create either a monochrome effect or a marbled effect.
Here’s the approach for a monochrome effect starting from one color that will appear again and again.
- Configure and flatten out two squares of the same size but different colors of Fimo clay.
- Cut it crosswise and swap over 2 halves of different colors.
- Cut each of these new squares lengthways four times. By pounding each strip, you have a unique color that can be freshen at will. Or else construct a marbled upshot of subtly differentiated intensity.
Marbling in Fimo clay
1. To obtain a marbled effect, first knead two colors individually to soften. Obtain a 2/3 base color and 1/3 marbled color mix.
2. Make two long coils of the same length.
3. Roll the thinner coil onto the thicker one, and then form a new and well smoothed tube.
4. Fold this in three by folding back each of the ends.
5. Make a new coil by stretching while smoothing out.
6. Repeat the whole operation one to three times.
7. The last time you fold the ends inwards, instead of extending the coil, shorten it, all the time smoothing it with the flat of your hand.
8. The marbling will be perceptible, in other words, the secondary color has taken on a greater number of shades. The thick coil consists now of more than just two colors and can therefore be cut up to create beads.
Leave a Reply